
Give your dull concrete patio or porch a new life without the need for demolishing anything! By installing pavers on concrete, you can elevate the aesthetic appeal of your home while also saving a significant amount of time and money. This guide will help you through the entire process, whether you are refreshing your backyard oasis or giving a concrete porch makeover.
Why Choose Pavers Over Concrete?
Many people have started to lean towards a pavers over concrete porch installation, and for a very good reason. Firstly, pavers are a major aesthetic upgrade, and they secure a solid base for installation. Better still, you won’t have to deal with the messy removal of concrete.
What You’ll Need
Success starts with the right materials. Here is your shopping list:
- Pavers of your choice
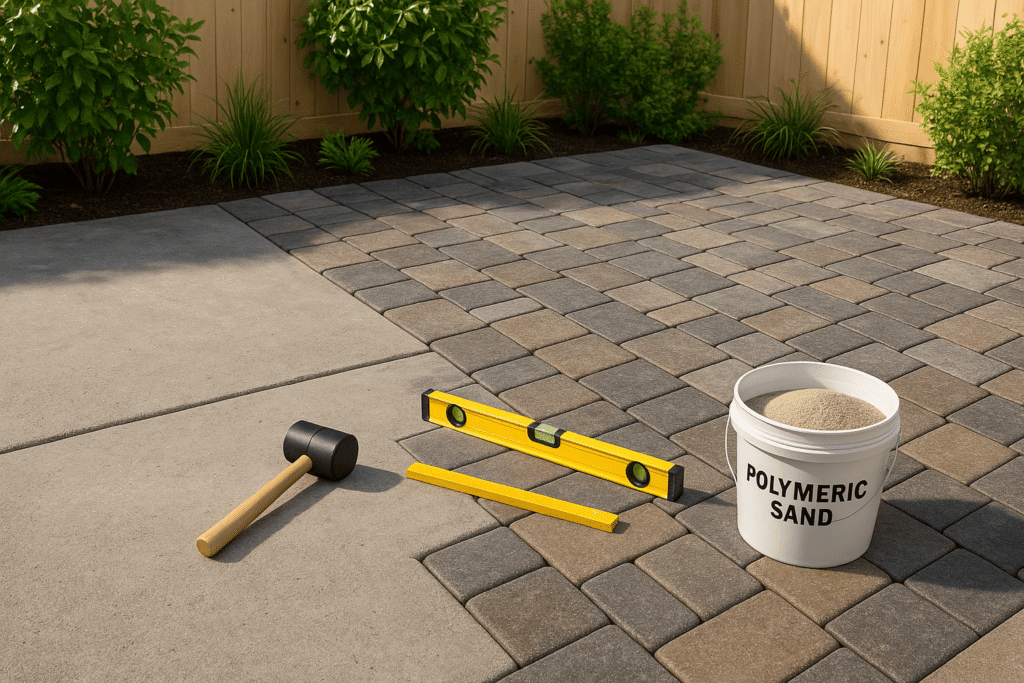
- Polymeric sand or mortar
- Concrete adhesive
- Level and rubber mallet
- Chalk line
- Safety gear (gloves, knee pads, safety glasses)
Step-by-Step Installation Process:
Here is the definitive guide on how to lay pavers over concrete.
Step 1: Prepare Your Concrete Surface
Your concrete surface will need a thorough cleaning. Any debris, loose material, and even oil stains need to be washed. Particularly, the concrete surface needs to be level and moisture free. If the surface is cracked or there are joints with significant roughness or unevenness, be sure to fill these using concrete filler.
Step 2: Plan Your Layout
This step separates amateur jobs from professional results. Measure your space and create a layout plan. Start from the center and work outward, ensuring your pattern remains symmetrical. Use chalk lines to mark your starting points – trust us, this saves hours of frustration later!
Step 3: Apply Adhesive
When laying pavers over concrete, proper adhesion is everything. Apply concrete adhesive in small sections, working quickly before it sets. Don’t cover more area than you can pave in 10-15 minutes.
Step 4: Install Your Pavers
Begin placing pavers according to your planned layout. Press each paver firmly into the adhesive, using a rubber mallet for even placement. Check frequently with your level to maintain consistency. Leave small gaps between pavers for sand or mortar.
Step 5: Fill the Joints
Once all pavers are installed, it’s time to fill those gaps. For most projects, polymeric sand works beautifully. Sweep it into joints, mist lightly with water, and allow to set. This creates a strong, weed-resistant seal.
Step 6: Final Cleanup
Remove excess sand from paver surfaces using a soft brush. Avoid harsh cleaning that might disturb your fresh joints.
Pro Tips for Success
The key to mastering how to install pavers over concrete lies in patience and preparation. Work during mild weather conditions – extreme heat or cold can affect adhesive performance. Take your time with layout planning; rushing this step often leads to crooked lines and uneven spacing.
Conclusion: Transform Your Space Today
Installing pavers over concrete doesn’t have to be overwhelming. With proper preparation and the right technique, you can achieve professional-looking results that will enhance your home’s value and beauty for years to come.
Ready to Get Started?
Whether you need guidance or prefer professional installation, we’re here to help. Contact us at zicklin@zicklincontracting.com or call +1-718-550-2779. We stand behind our work with a comprehensive 5-year guarantee!
🌟 Customer Testimonials
Here’s what satisfied customers say about Zicklin Contracting’s sidewalk violation removal service:
“Zicklin Contracting Corp. did a great job to fix the sidewalk outside my residence. Very professional and reliable service. Will recommend this company anytime…100%”
“I was very pleased with this company. They have the best customer service, they were punctual, and the quality of their work was unmatched. … I will definitely be calling them for anything else I need done!”
“Had a sidewalk violation … Found Zicklin Contracting through this site and I’m so glad I did. Raj is a great contractor … The sidewalk looks perfect.”
Overall Rating: ⭐⭐⭐⭐☆ (4.9/5 based on reviews)
Quick Highlights:
- Trustworthy service: clear communication and follow‑through
- Fast, clean work: efficient repairs completed on schedule
- Full service: handled permits, DOT inspection, and paperwork
- Customer satisfaction: fair pricing and no hassle
If you’d like to include more testimonials or tweak layout/colors to match your site, just let me know!